3905 starlight circle Mayslanding, 08330 NJ
E-mail us: [email protected]


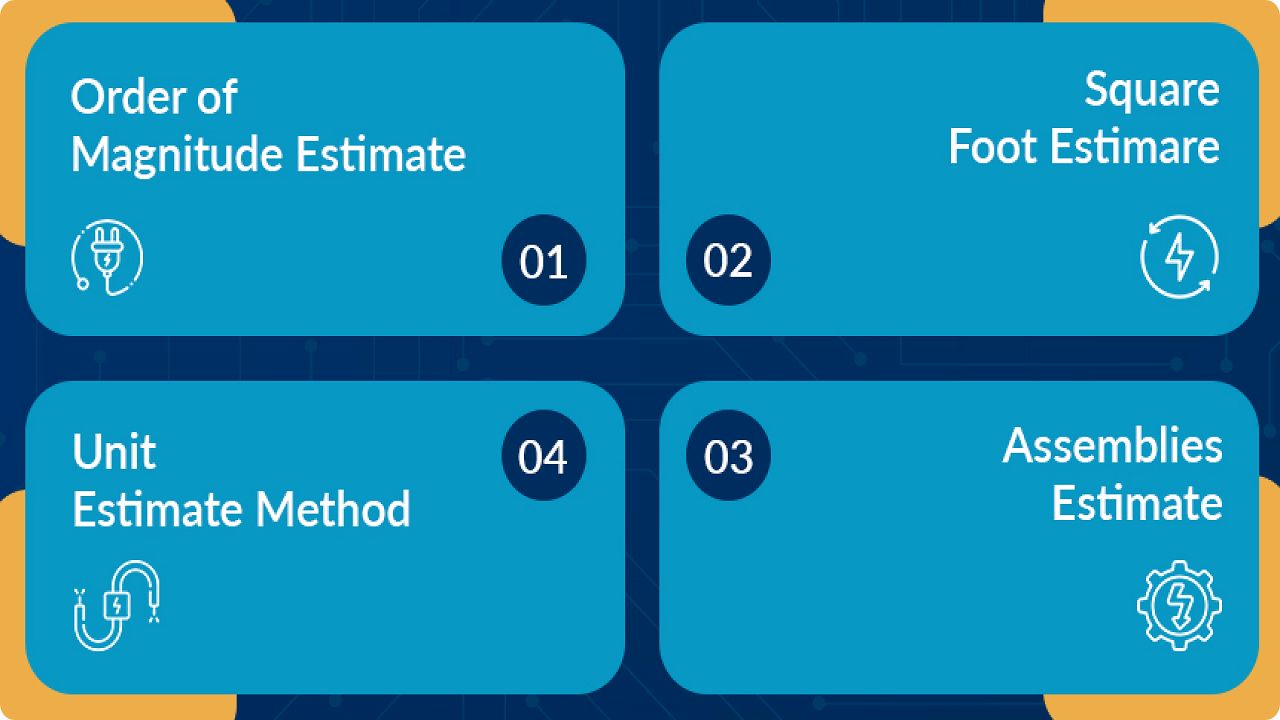
In the realm of electrical contracting, the process of estimating and submitting bids is crucial for securing projects and sustaining a successful business. This entails finding a delicate balance between bidding low enough to outshine competitors while also covering all project expenses, including labor, materials, equipment, subcontractors, and overhead, and ensuring a profitable margin to reinvest in business growth. Below are the steps for a tried-and-true electrical estimating system:
Begin the electrical estimating process by choosing projects that align with your expertise. Avoid bidding on electrical work outside your realm of experience, as lacking historical data can lead to estimation errors that eat into profit margins during project execution. Taking on unfamiliar work can also pose a steep learning curve for both estimators and field staff.
Thoroughly examine project specifications, including Division 01 general specifications and Division 26 electrical specifications. Pay close attention to contractor qualifications, payment terms, bonding requirements, and insurance obligations to ensure your business can meet these criteria. Additionally, scrutinize the legal language within the terms to ensure your comfort with them should you win the project.
Upon completing the review of general specifications, transition to Division 26 specifications. Take note of material quality, installation methods, and cost responsibilities (e.g., who provides fire alarm or communication systems). Specifications typically dictate material quality, while drawings determine quantities. Make a special effort to highlight any non-standard items and include them in your bid. It’s important to seek written approval if you intend to offer alternate options, as project owners may insist on specified material grades.
Examine project drawings at a high level to grasp the overall scope of work. It’s essential to review architectural drawings as well as electrical drawings to understand working heights, elevations, and other factors that influence labor costs, material pricing, and equipment requirements. Pay close attention to technical details and watch for discrepancies between the drawings and specifications, documenting any discrepancies.
If your estimating software doesn’t support electrical takeoffs, you’ll need to manually count and measure items depicted in the electrical drawings, such as light fixtures, receptacles, conduit runs, panels, and electrical gear. Start with one item (e.g., light fixtures) and tally quantities sheet by sheet. Make note of anything you missed earlier and adjust your counts accordingly. Total the quantities for each sheet and maintain a quantity takeoff sheet. Consider whether you’re responsible for HVAC connections or any low-voltage components.
Obtaining pricing for lighting fixtures early in the process can expedite your estimate. Lighting items are often quoted separately from other materials. Instead of worrying about specific fixture details, note the designations used to identify fixtures on the plans (e.g., A1, B1, C1, etc.). Lighting suppliers can refer to the lighting schedule to provide lump sum quotes. Building relationships with local lighting firms can ensure competitive pricing and timely quotes.
If your estimating software can’t automate this step, prepare for manual effort and potential human error. With quantities established, you must determine unit costs for each item, factoring in material and labor expenses for each task and extending these by the task quantity.
Calculating material costs is straightforward, requiring a quick inquiry with your supplier or pricing service. Labor costs, on the other hand, necessitate knowledge of installation durations, based on past production history and experience. If you lack historical data and field experience, consider using NECA’s Manual of Labor Units as a reference guide.
Multiply the labor unit by the fully burdened labor cost to determine the labor cost for each task. Summarize the total material cost and total labor hours for all items, and then multiply the labor hours by your fully burdened hourly labor cost to calculate the total labor cost for the task. Add these two figures together to ascertain your total direct costs for the project, serving as the foundation for your estimate. Remember to include line items for any other direct costs necessary for installation, such as equipment rentals or subcontractors.
Now that we’ve determined our estimated job cost, which covers the direct expenses, it’s essential to add both profit and overhead to arrive at our final sales price. While profit is a straightforward concept, some contractors may misconstrue the idea of overhead. It’s crucial to recognize that every electrical contractor incurs overhead costs, and it’s imperative to factor these into your pricing to sustain your business.
Overhead encompasses all indirect expenses necessary for the smooth operation of your business. This includes costs like office lease, estimating, sales, marketing, bookkeeping, and various other expenses that are part and parcel of running your business.
Similar to profit, overhead is represented as a percentage that you add to the project costs to establish your sales price.
With our sales price determined, the next step is to create a comprehensive proposal that clearly outlines what is included in your bid. It’s advisable to use language akin to that found in the project specifications and drawings. This ensures consistency and facilitates the general contractor’s ability to compare bids, thereby instilling confidence that you’ve covered all aspects in your estimate. Transparency is key, so make sure to clarify any inclusions or exclusions to prevent confusion once the project is awarded.
Generally, electrical contractors provide lump-sum bids, signifying a fixed fee covering all items in the bid. This is where precision in detailing the scope of work is vital.
A prudent practice is to have a second set of eyes within your estimating team review your work before submitting the bid to eliminate any oversights. This review should involve another estimator independently taking off the project’s major systems to ensure nothing was missed during the initial takeoff.
It’s also beneficial to maintain a bid log, such as a simple Excel spreadsheet, listing recently completed projects by type and size, along with the price-per-square-foot for reference. While you shouldn’t solely rely on this method for bidding, it can help you compare the current project to past ones, identifying significant cost variations that require investigation. Note: This log can be useful for preliminary budgeting as well.
After double-checking your work, it’s time to submit your bid. Nowadays, bids are typically submitted electronically through the platform from which you received the bid or via email. It’s advisable to re-read the Division 01 specifications and adhere to any bid instructions meticulously.
Initially, it can be challenging to gauge your competitiveness among other electrical contractors bidding on the same project. Keep in mind that General Contractors often prioritize trust and experience over the lowest bid. Building a rapport may take multiple bids before earning a General Contractor’s trust.
When you lose a bid, consider reaching out to the General Contractor to inquire about how your bid compared to others. Sometimes they may provide bid tabs with your competitors’ numbers, while other times they might simply explain that your bid was either too high or too low for their comfort level.
While not obligatory in private bids, polite requests for feedback can often yield valuable insights to help fine-tune future bids. Note: It’s also a good practice to request bid tabs for awarded projects to assess whether you might be underpricing your bids.
Streamlining Electrical Estimating Undoubtedly, electrical estimating demands a substantial time investment, which increases significantly without the aid of electrical estimating software. This software streamlines the process by offering prebuilt systems and methodologies for estimating.
Quality electrical estimating software includes features like on-screen takeoff, estimating, and quoting within a unified package. It offers functions such as auto-count, access to a comprehensive electrical labor and material database, and bid tracking capabilities. For those new to electrical estimating, this software can provide a structured framework to initiate the process.
Based on my experience, electrical contractors employing software witness a notable increase in efficiency, often 2-3 times faster than manual estimation with paper plans and spreadsheets. Moreover, it is often more cost-effective than printing physical plans and substantially reduces the risk of human errors.